


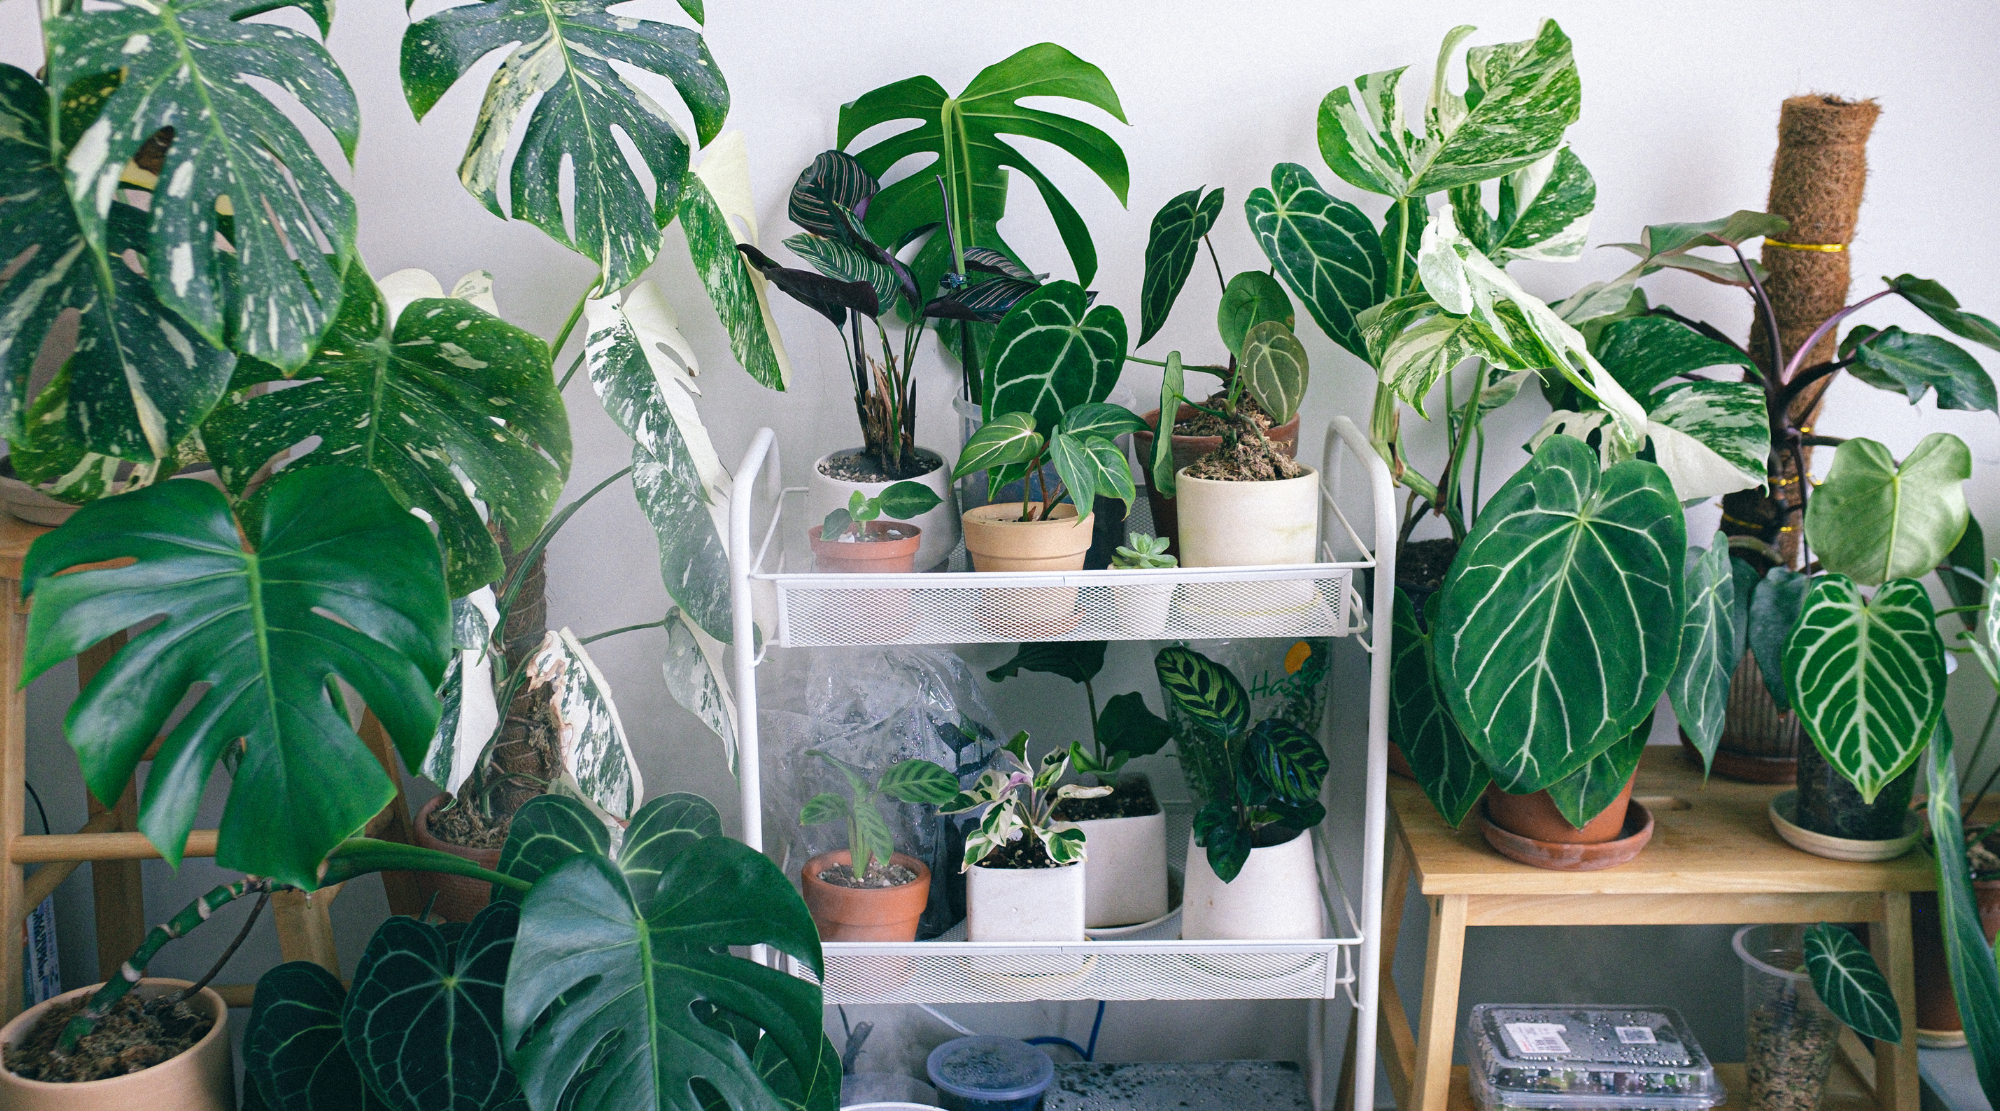
Repotting is a vital part of maintaining healthy indoor plants. Whether you have lush green houseplants, cacti, or succulents, all plants eventually outgrow their containers and need fresh soil, new nutrients, and more space to expand their roots. Proper repotting not only enhances plant growth but also prevents common issues like root rot, compacted soil, and nutrient depletion. This comprehensive guide will walk you through everything you need to know about repotting, from when and how to repot, specific advice for different plant types, tools to use, and post-repotting care tips.
Repotting is essential for maintaining healthy indoor plants, especially when your plants outgrow their containers. For those looking for plants that don’t need constant attention, consider checking out these 15 Low-Maintenance Houseplants that are perfect for any home.
Why Repotting Is Important for Indoor Plants
Many indoor plants are grown in small containers that limit their root space. Over time, these plants can become “root-bound,” where the roots grow tightly together and take up all the available space, making it hard for the plant to access water, nutrients, and oxygen. Here are some key reasons why repotting is essential:
- Refreshes the soil: Fresh soil provides new nutrients that help your plants grow healthier and stronger.
- Prevents root crowding: Repotting gives roots more space to spread out and breathe, promoting better nutrient and water absorption.
- Improves drainage: Old, compacted soil can prevent water from draining properly, leading to root rot. New soil allows better airflow and water drainage.
- Boosts growth: When plants have more room to grow, they often become more robust and vibrant.
Repotting is one of the best ways to reset your plant’s environment, giving it the conditions it needs to thrive.
When to Repot Your Indoor Plants: Key Signs
Knowing when to repot is crucial to keeping your plants healthy. While most indoor plants benefit from repotting every 12 to 18 months, there are specific signs to look out for that indicate your plant is ready for a new home:
- Roots growing out of the drainage holes: If you see roots poking out from the bottom of the pot, your plant is root-bound and needs more space.
- Water drains too quickly or too slowly: Compacted soil causes water to flow through the pot without being absorbed, or it can prevent water from draining properly, leaving the plant waterlogged.
- Stunted growth: If your plant has stopped growing or its leaves are yellowing, it might be lacking nutrients and needs fresh soil.
- Top-heavy or unstable plant: If your plant is tipping over or seems unbalanced, it likely has outgrown its pot and needs more stability.
- The soil dries out too quickly: This could mean that the plant’s roots are taking up too much space, not leaving enough room for the soil to retain water.
Repotting indoor plants is simple when done correctly, and it ensures your plants have room to grow. If you’re looking for even more detailed steps, check out this helpful guide on how to repot a plant from The Spruce.
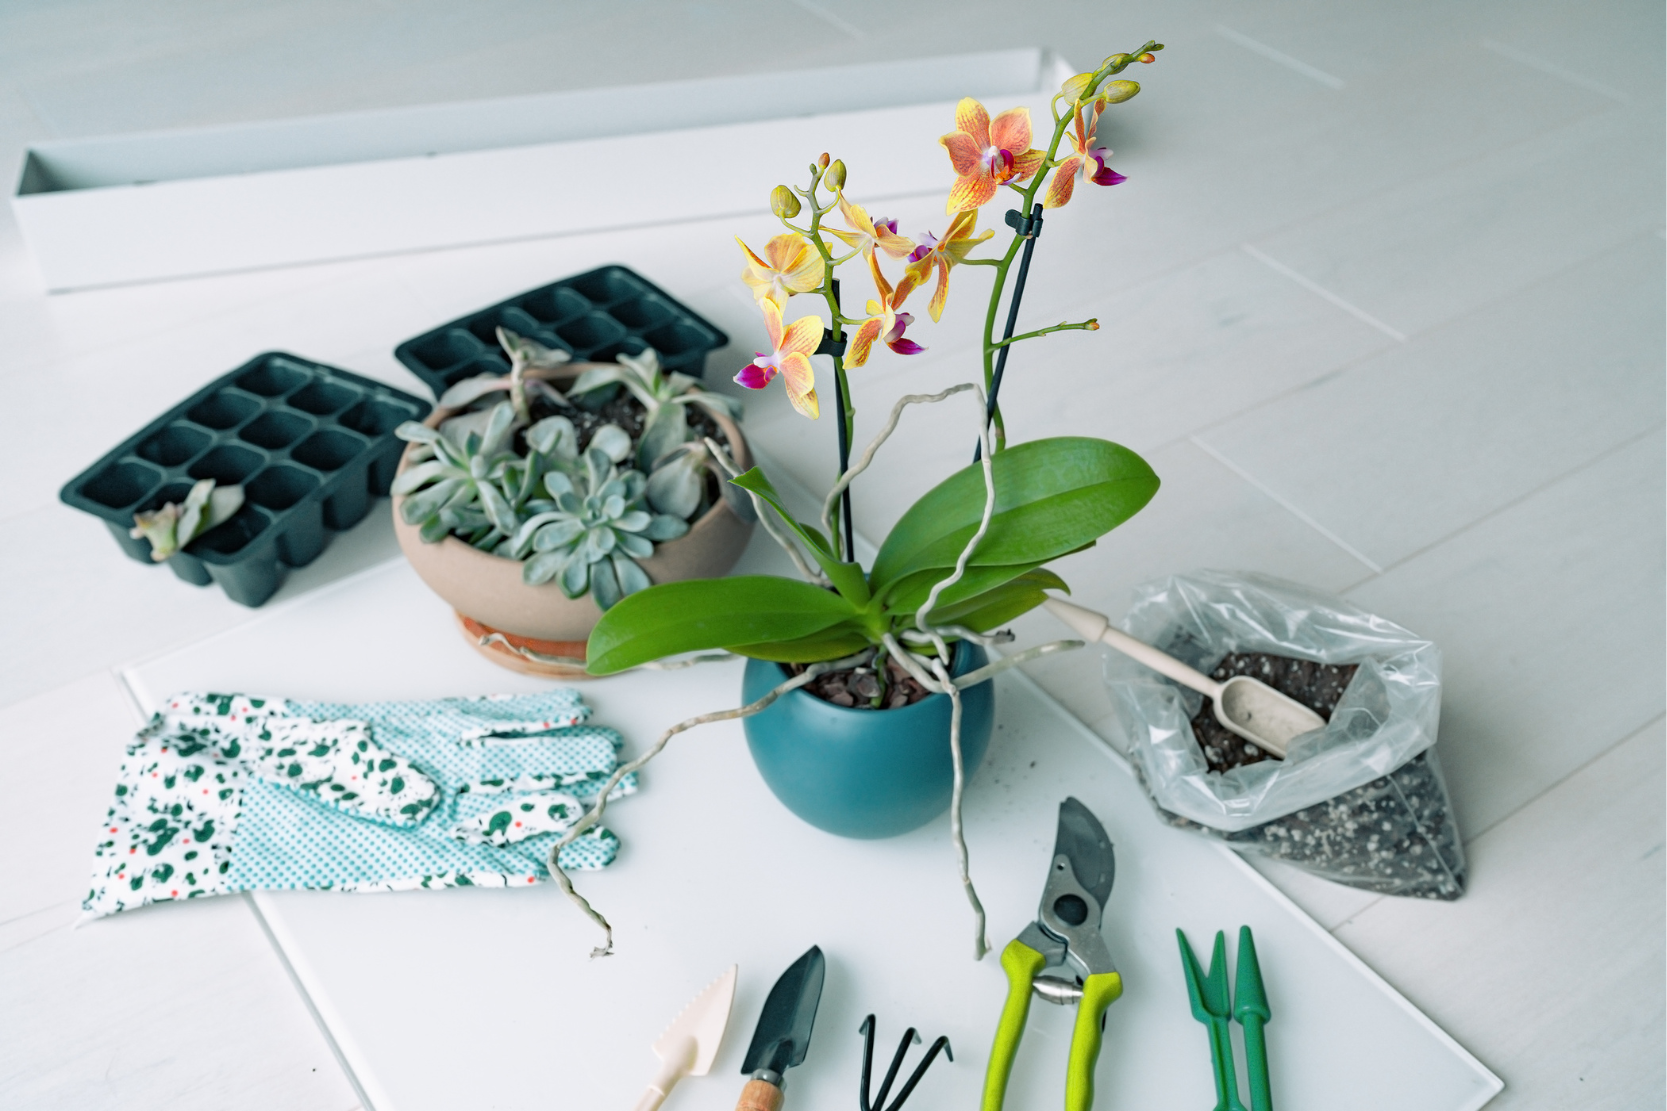
Tools You Need for Repotting Indoor Plants
Having the right tools can make repotting easier and less stressful, especially when dealing with prickly plants like cacti or delicate succulents. Here’s a list of basic and advanced tools to have on hand:
- Gardening gloves: Essential for protecting your hands when handling spiny plants like cacti.
- Pruning shears: Used to trim dead or overgrown roots and stems before repotting.
- Soil scoop or small trowel: Helps you easily add soil around the plant’s roots without making a mess.
- Plant tongs or chopsticks: Useful for handling small, delicate plants or cacti that are hard to grab with your hands.
- Root rake or fork: Gently loosens compacted roots, helping them spread out in the new pot.
- Watering can with a narrow spout: Allows you to water precisely, without flooding the soil.
- Drainage tray: Place under your pot to catch excess water after watering, especially when indoors.
Choosing the Right Pot and Soil for Repotting
The Right Pot
Choosing the correct pot size and material is crucial for your plant’s health:
- Pot size: Choose a pot that is only 1-2 inches larger in diameter than the current pot. Going too large can lead to overwatering and poor drainage.
- Drainage holes: Always select pots with drainage holes to allow excess water to escape and prevent root rot.
- Material: Terra cotta pots are great for moisture control, while plastic pots retain moisture longer—ideal for plants that prefer a more humid environment.
The Right Soil
Using the correct soil is equally important. Different plants need different types of soil:
- Standard houseplants: Use a well-draining potting mix that retains moisture but allows excess water to flow out.
- Cacti and succulents: These plants need a specialized mix that includes sand or perlite to ensure proper drainage and prevent root rot.
- Orchids: Orchids require a coarse, well-draining mix with bark or perlite that mimics their natural environment.
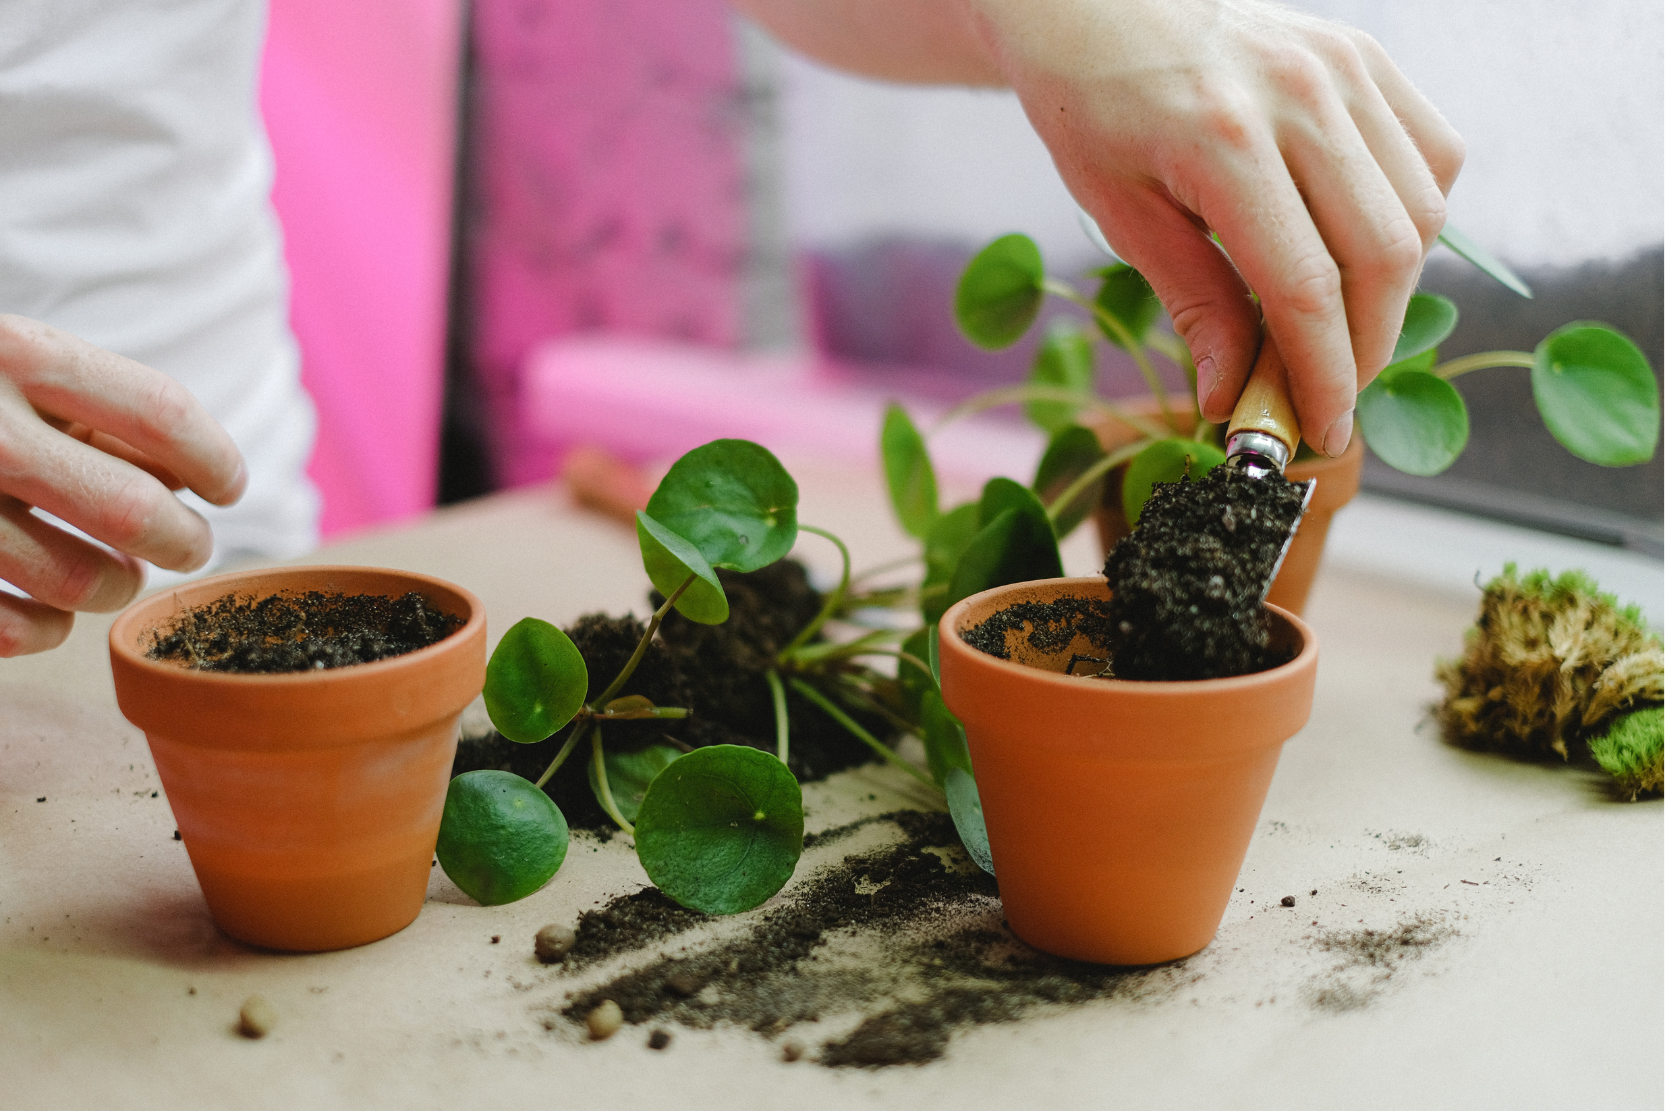
Step-by-Step Guide to Repotting Your Indoor Plants
Repotting plants can be simple if done with care. Follow these steps to successfully repot your plants:
- Water the plant a day before repotting: Moist soil makes it easier to remove the plant from its pot without damaging the roots.
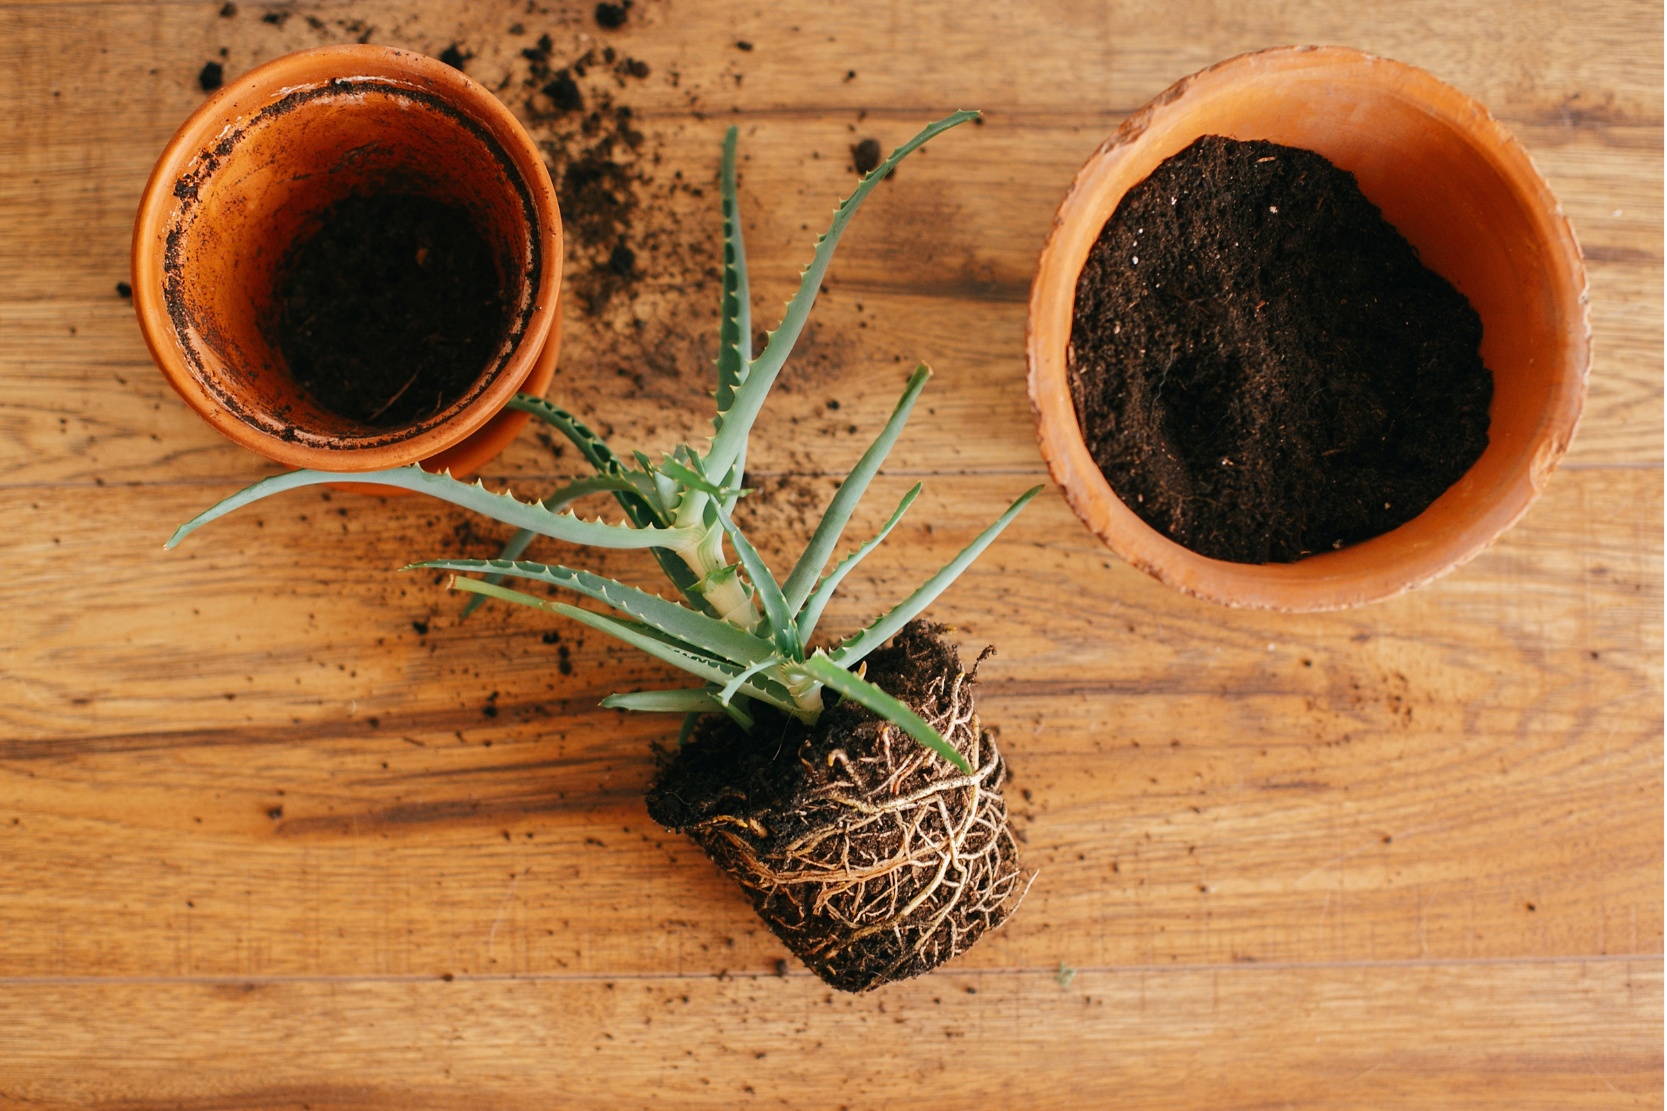
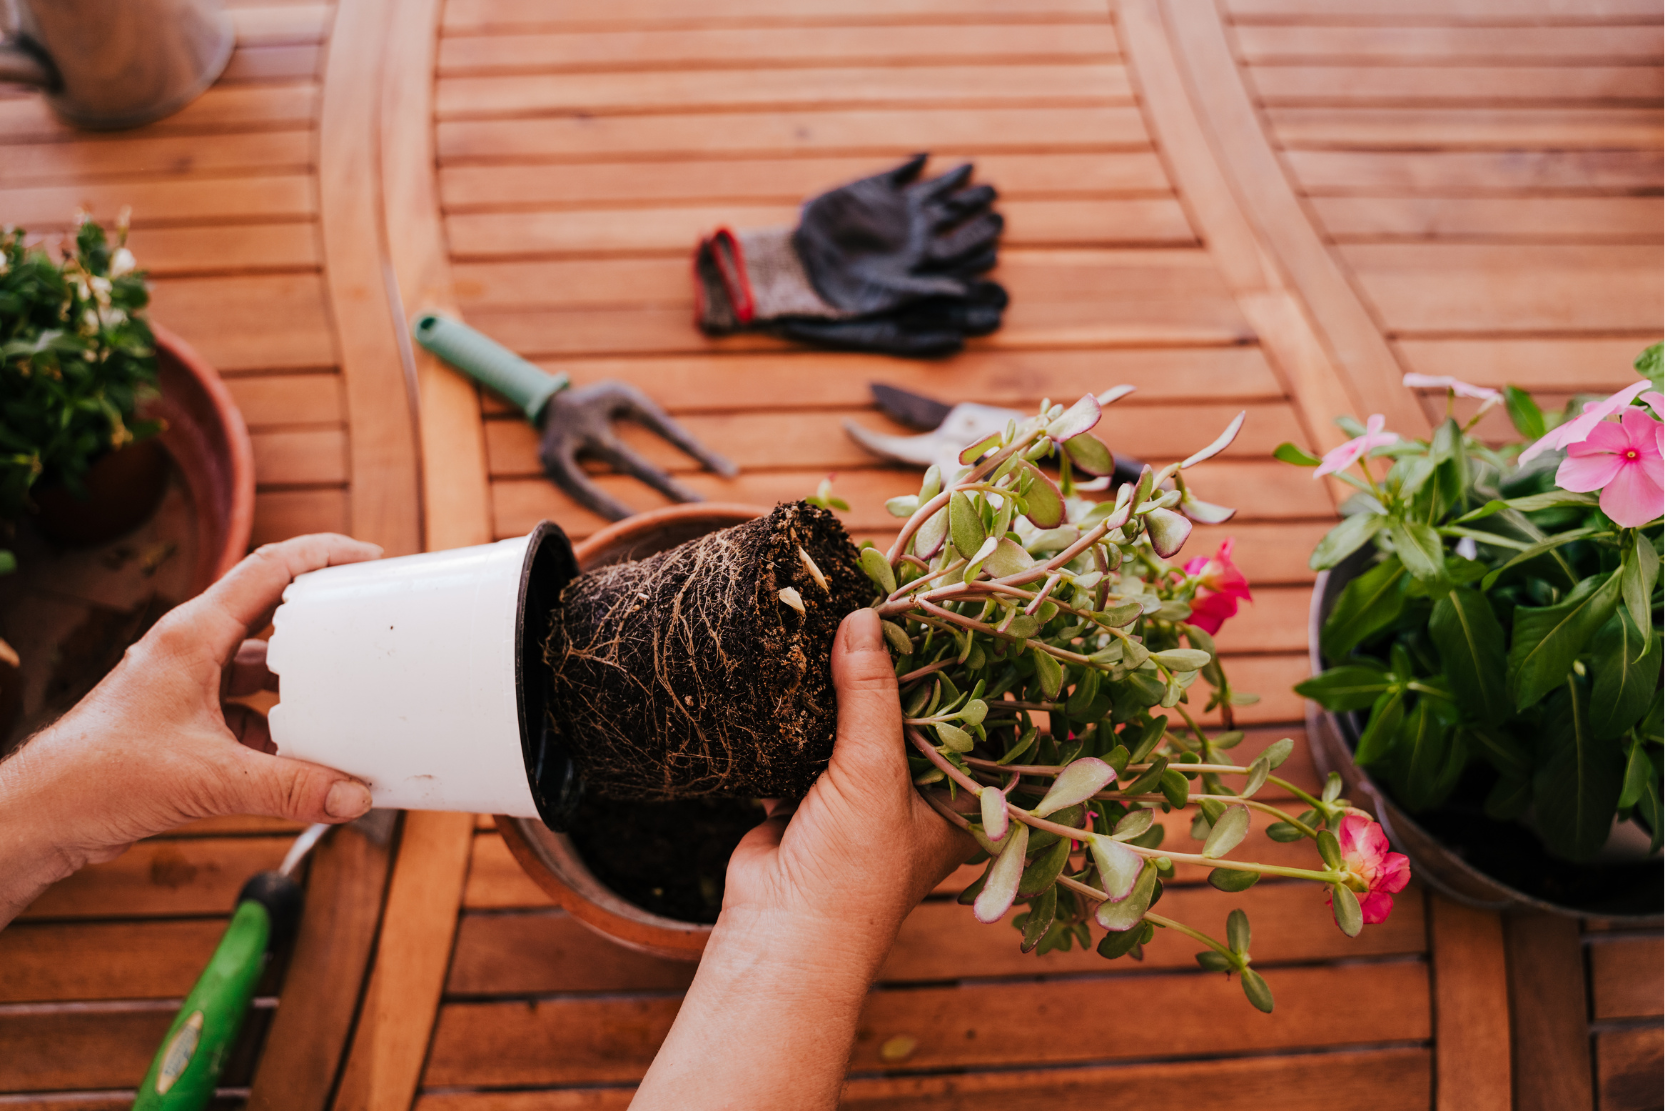
- Gently remove the plant: Hold the plant at its base and carefully tip the pot upside down. If it’s stuck, gently tap or squeeze the sides of the pot.
- Loosen the roots: If the plant is root-bound (with roots tightly wrapped around each other), gently loosen them using your fingers or a root rake.
- Prepare the new pot: Add a layer of fresh soil to the bottom of the new pot. Place the plant in the center, ensuring the root ball is slightly below the rim of the pot.
- Fill in with fresh soil: Add more soil around the plant, pressing it down lightly to eliminate air pockets, but be careful not to compact it too tightly.
- Water the plant: Water thoroughly after repotting to help the roots settle into the new soil. Make sure excess water drains out of the bottom of the pot.
Repotting Different Types of Indoor Plants
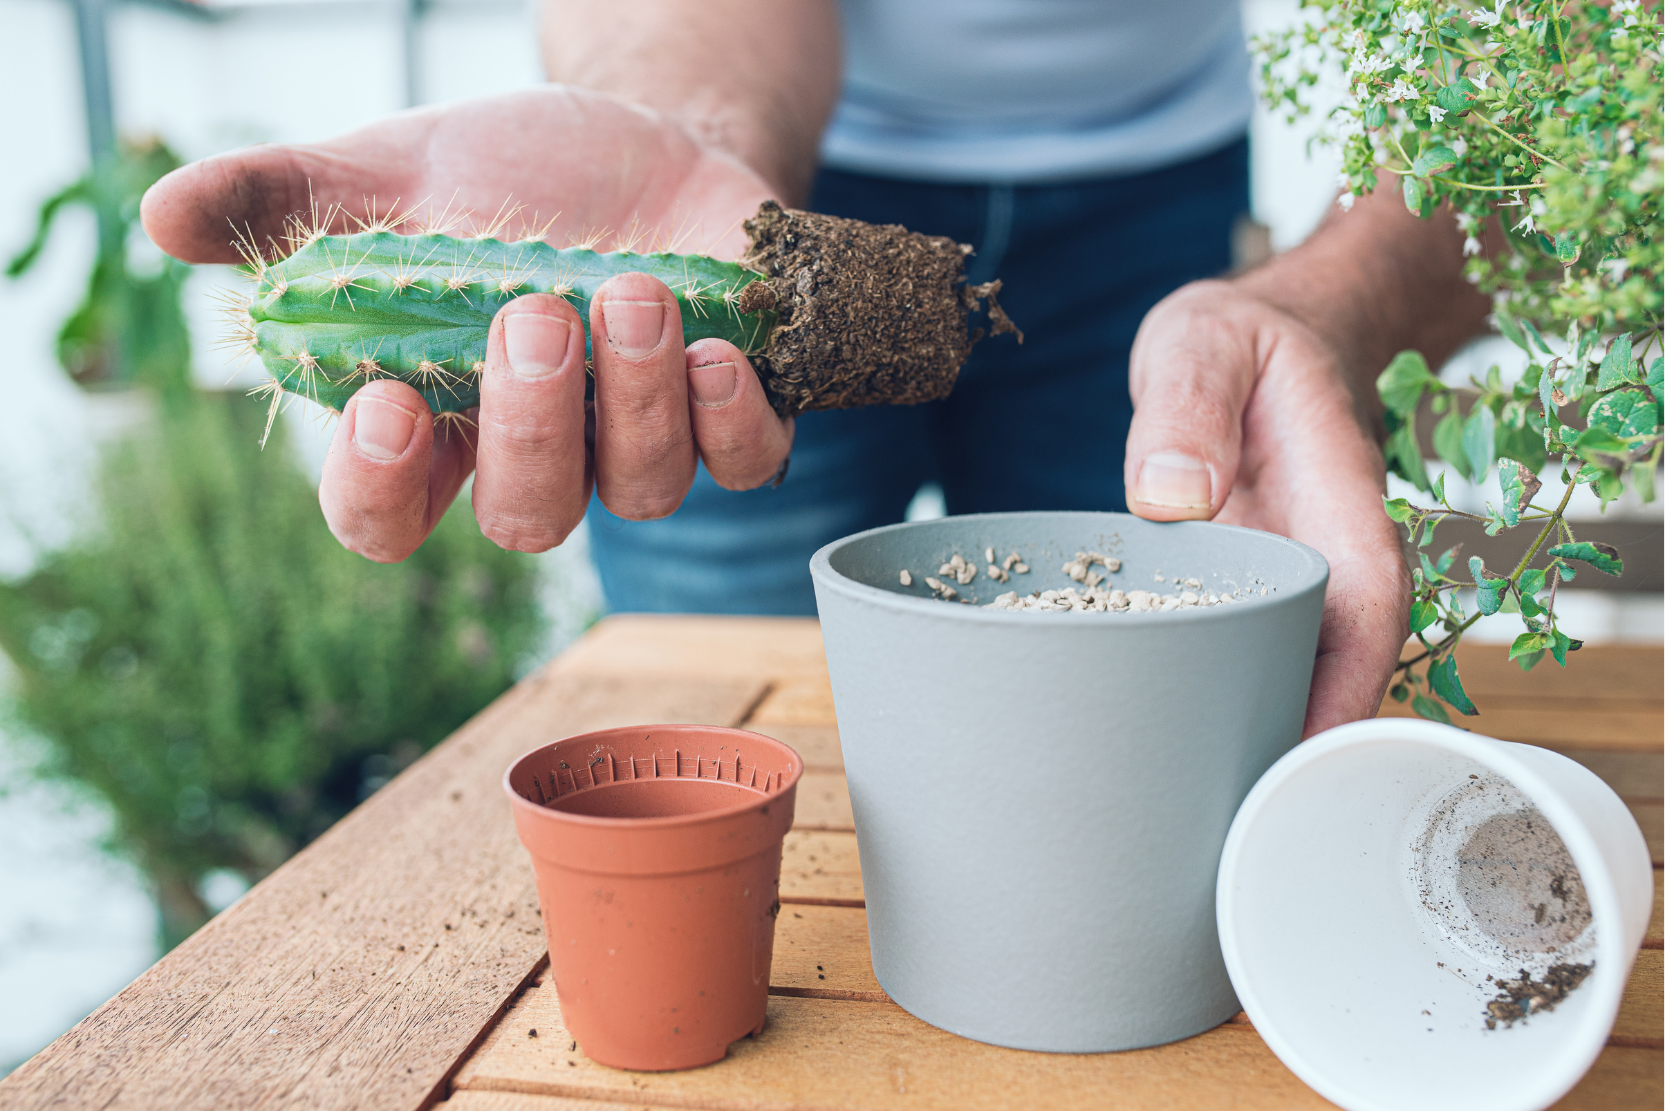
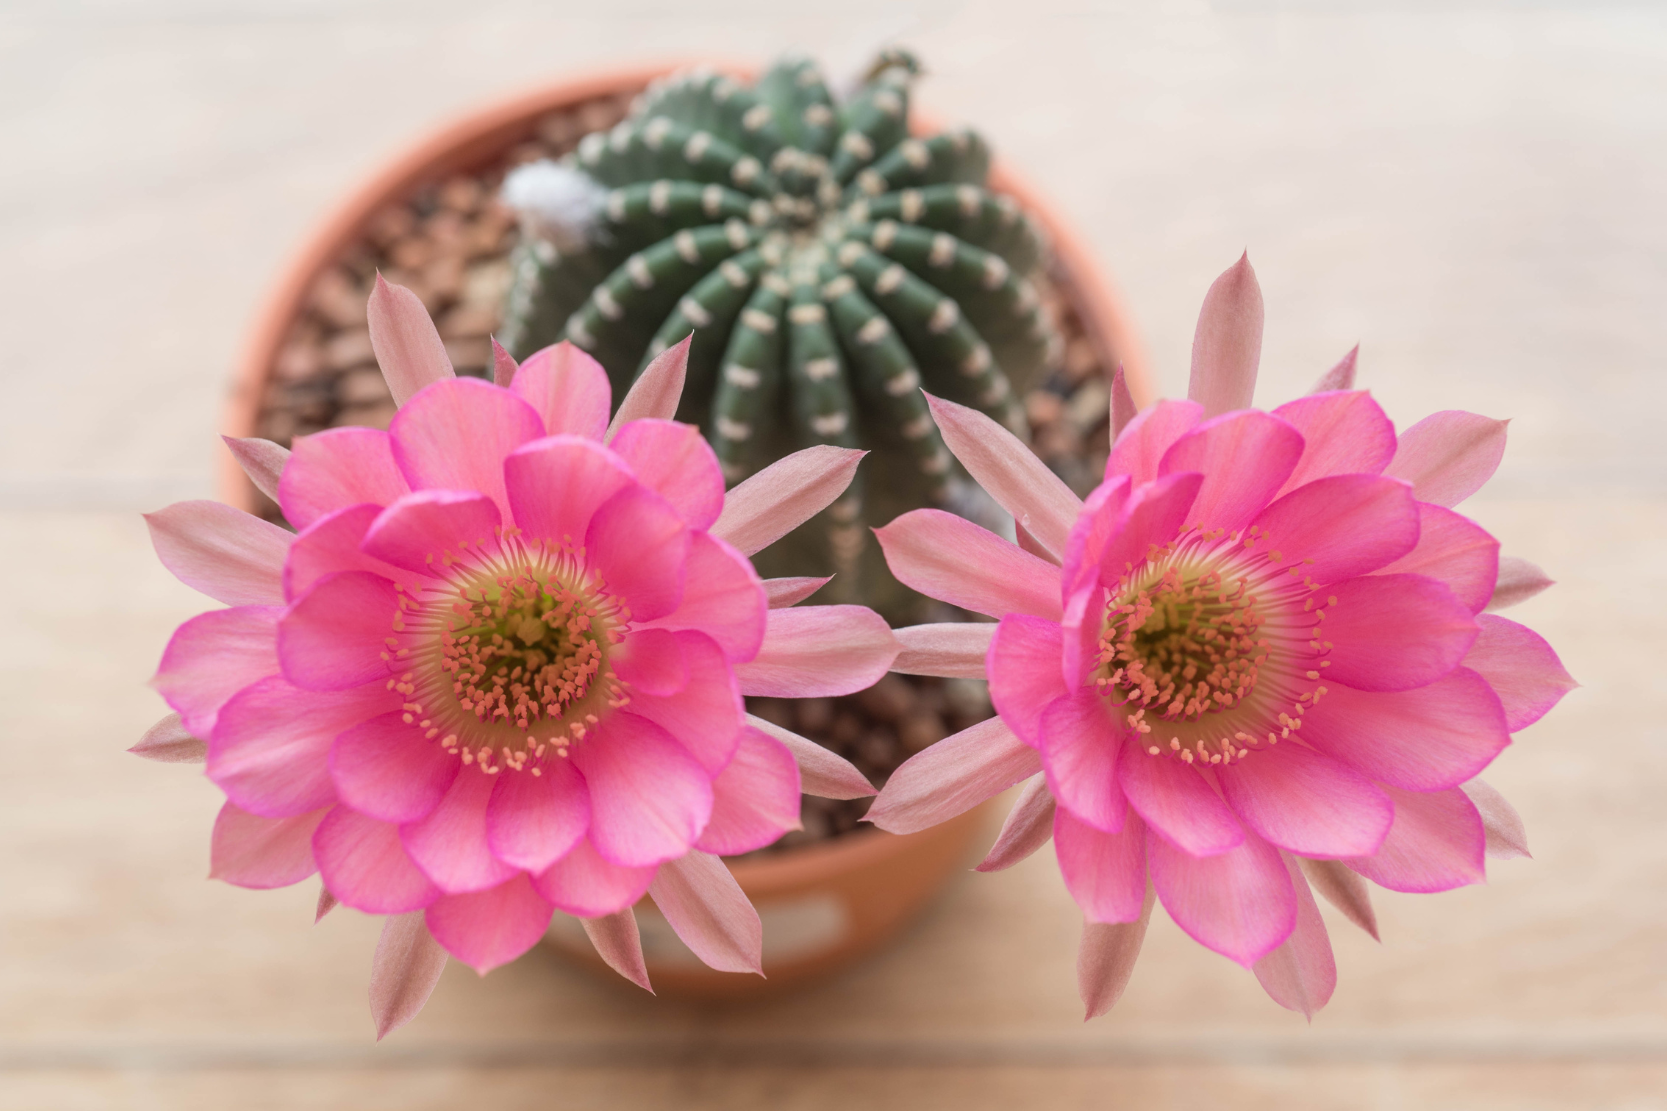
Repotting Cacti: Handling Spiny Plants
Cacti are resilient plants but need special care during repotting because of their spines and unique root systems. Here’s how to repot your cacti safely and effectively:
- Wear gloves: Thick gardening gloves will protect your hands from spines. If the cactus is very spiny, consider using kitchen tongs to handle it.
- Choose a sandy soil mix: Cacti need a fast-draining soil, often mixed with sand or perlite, to prevent water from sitting in the soil.
- Handle the roots carefully: Cacti have shallow roots, so avoid pulling or disturbing them too much. Gently place the cactus in the new pot and fill with soil.
- Water lightly after repotting: Wait at least a week before watering your cactus after repotting to avoid moisture stress.
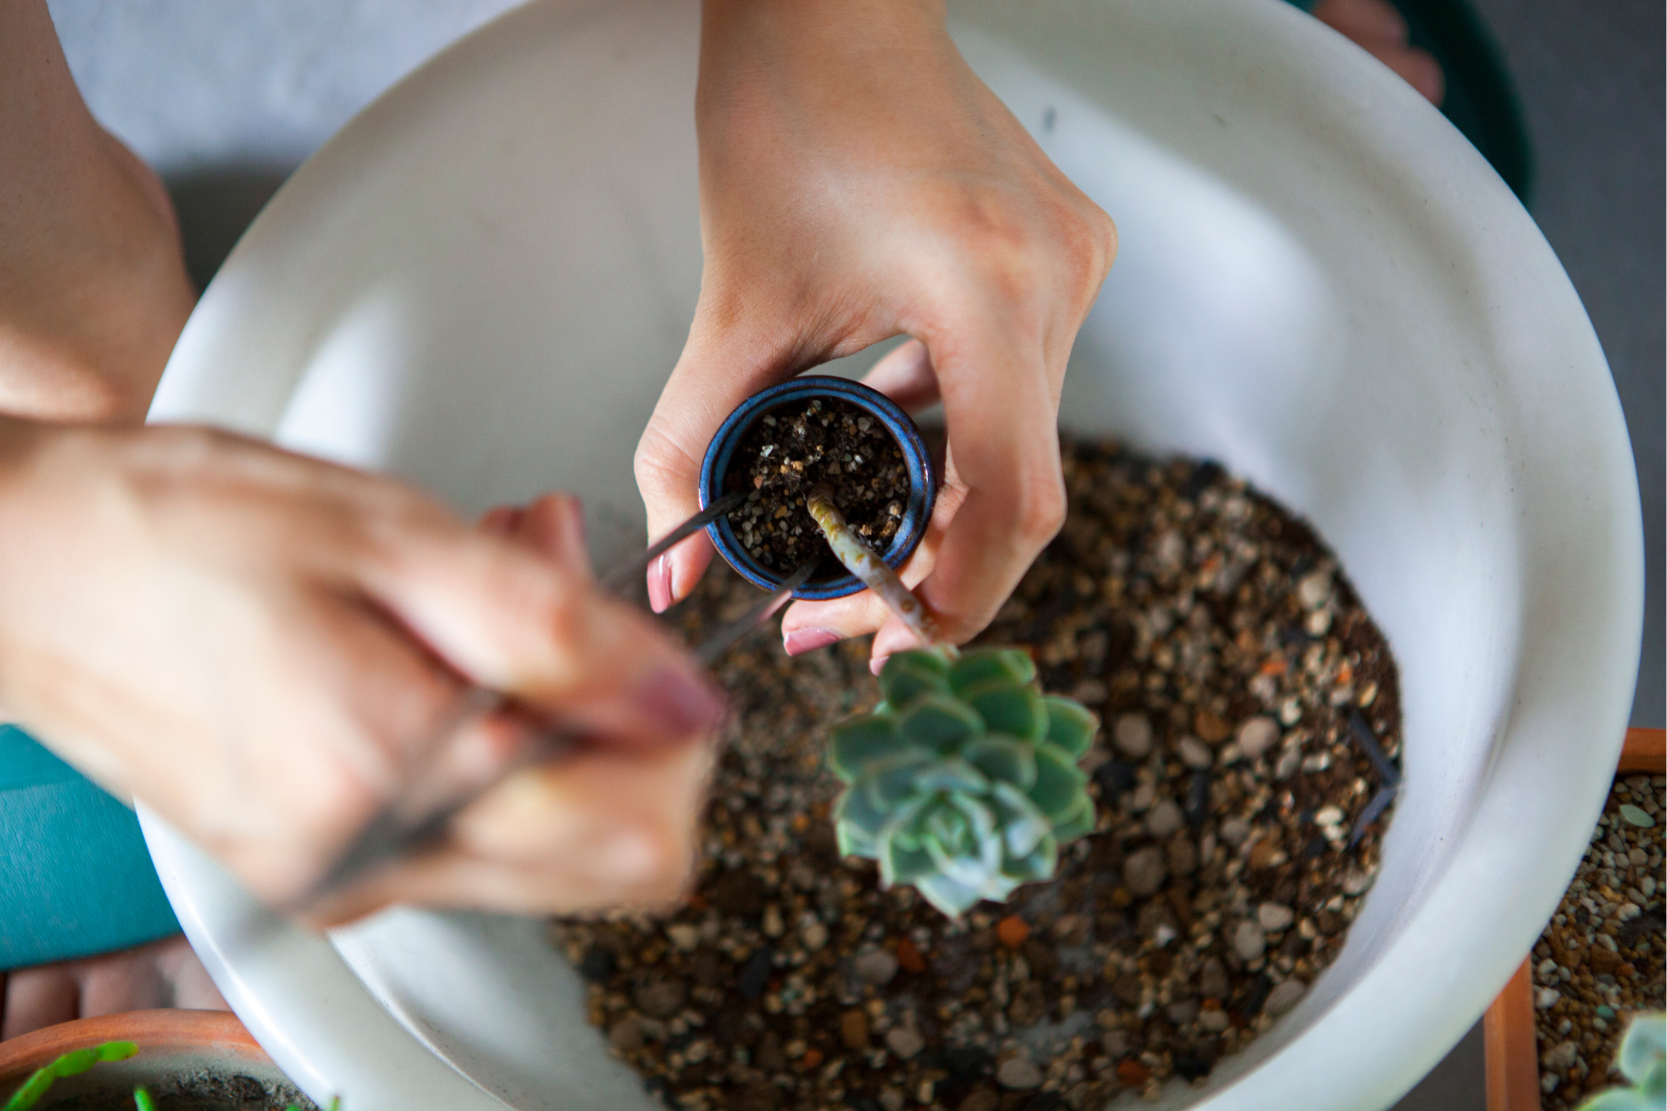
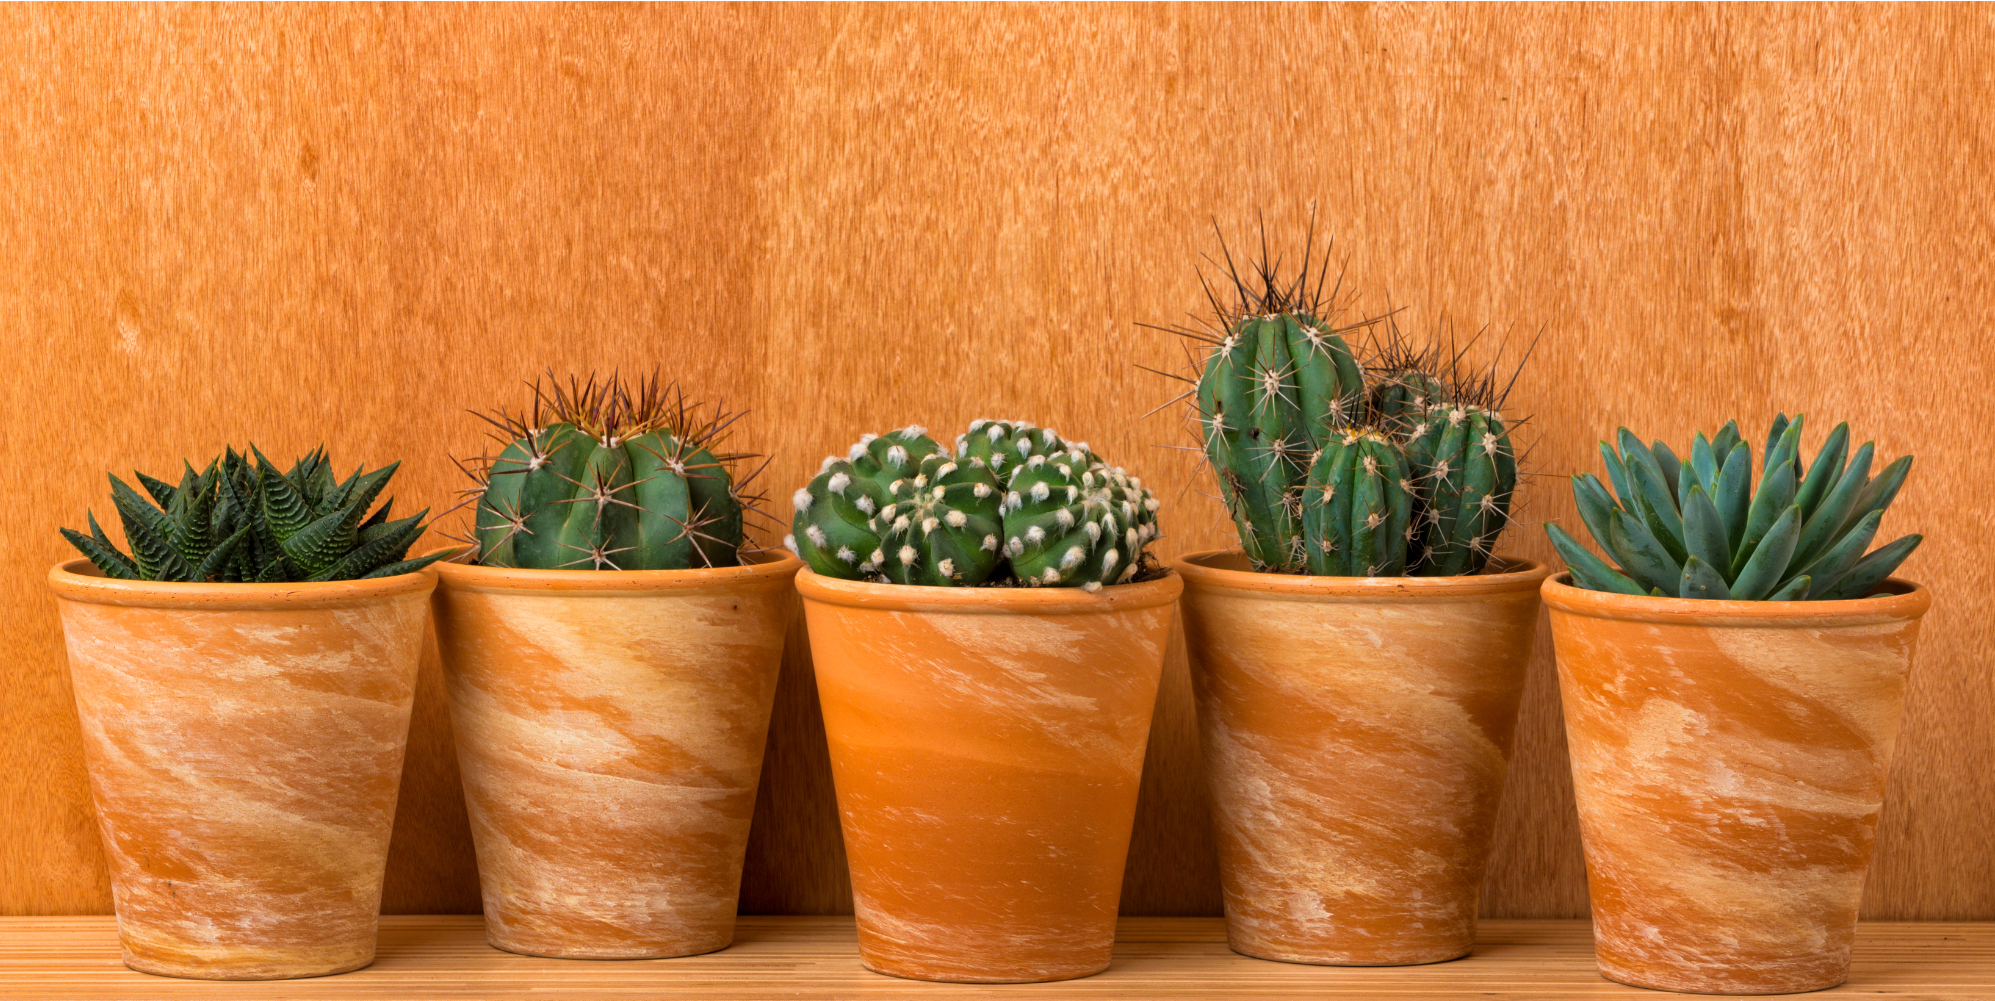
Repotting Succulents: Tips for Small Water-Storing Plants
Succulents are low-maintenance but still need repotting when their soil becomes compacted or they outgrow their containers. Here’s how to repot succulents:
- Select a pot with drainage: Like cacti, succulents need well-draining pots to prevent water from sitting in the soil.
- Use a succulent soil mix: A mix designed for succulents contains perlite or sand for improved drainage.
- Handle carefully: Succulents have delicate leaves that can easily break off, so handle them by their base when repotting.
- Water sparingly: After repotting, let the soil dry out completely before watering again, as succulents are sensitive to overwatering.
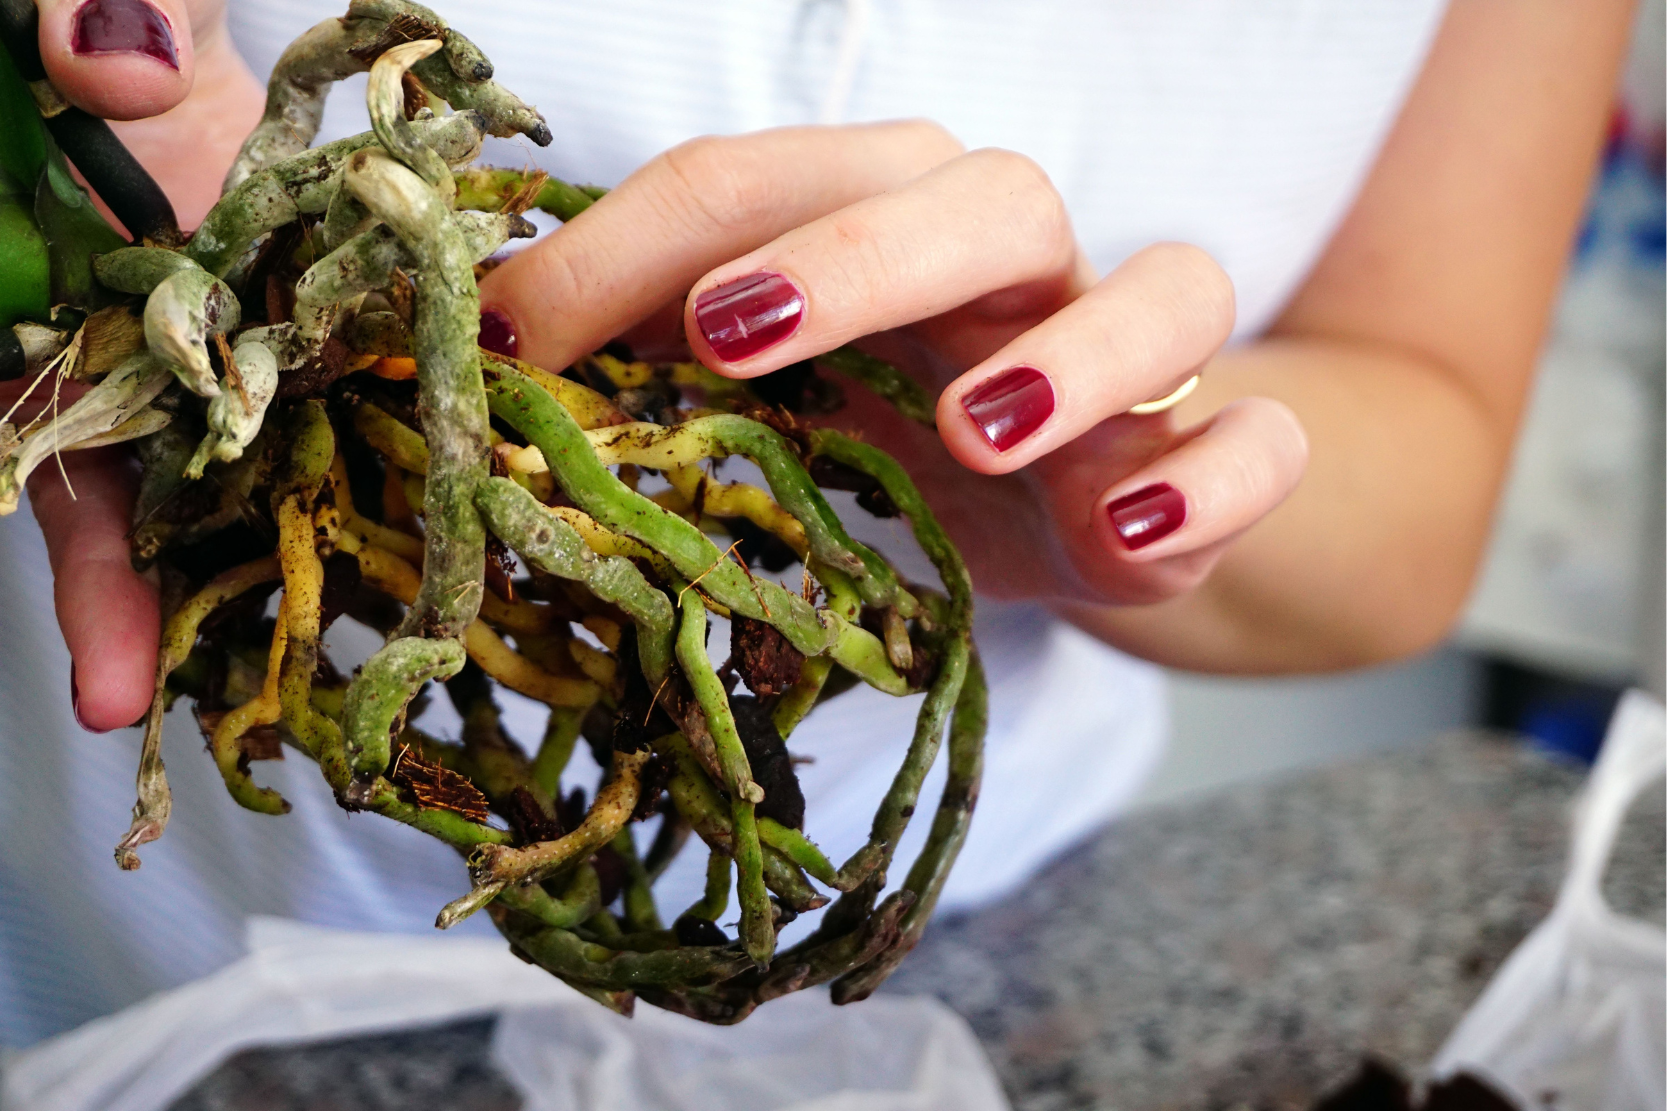
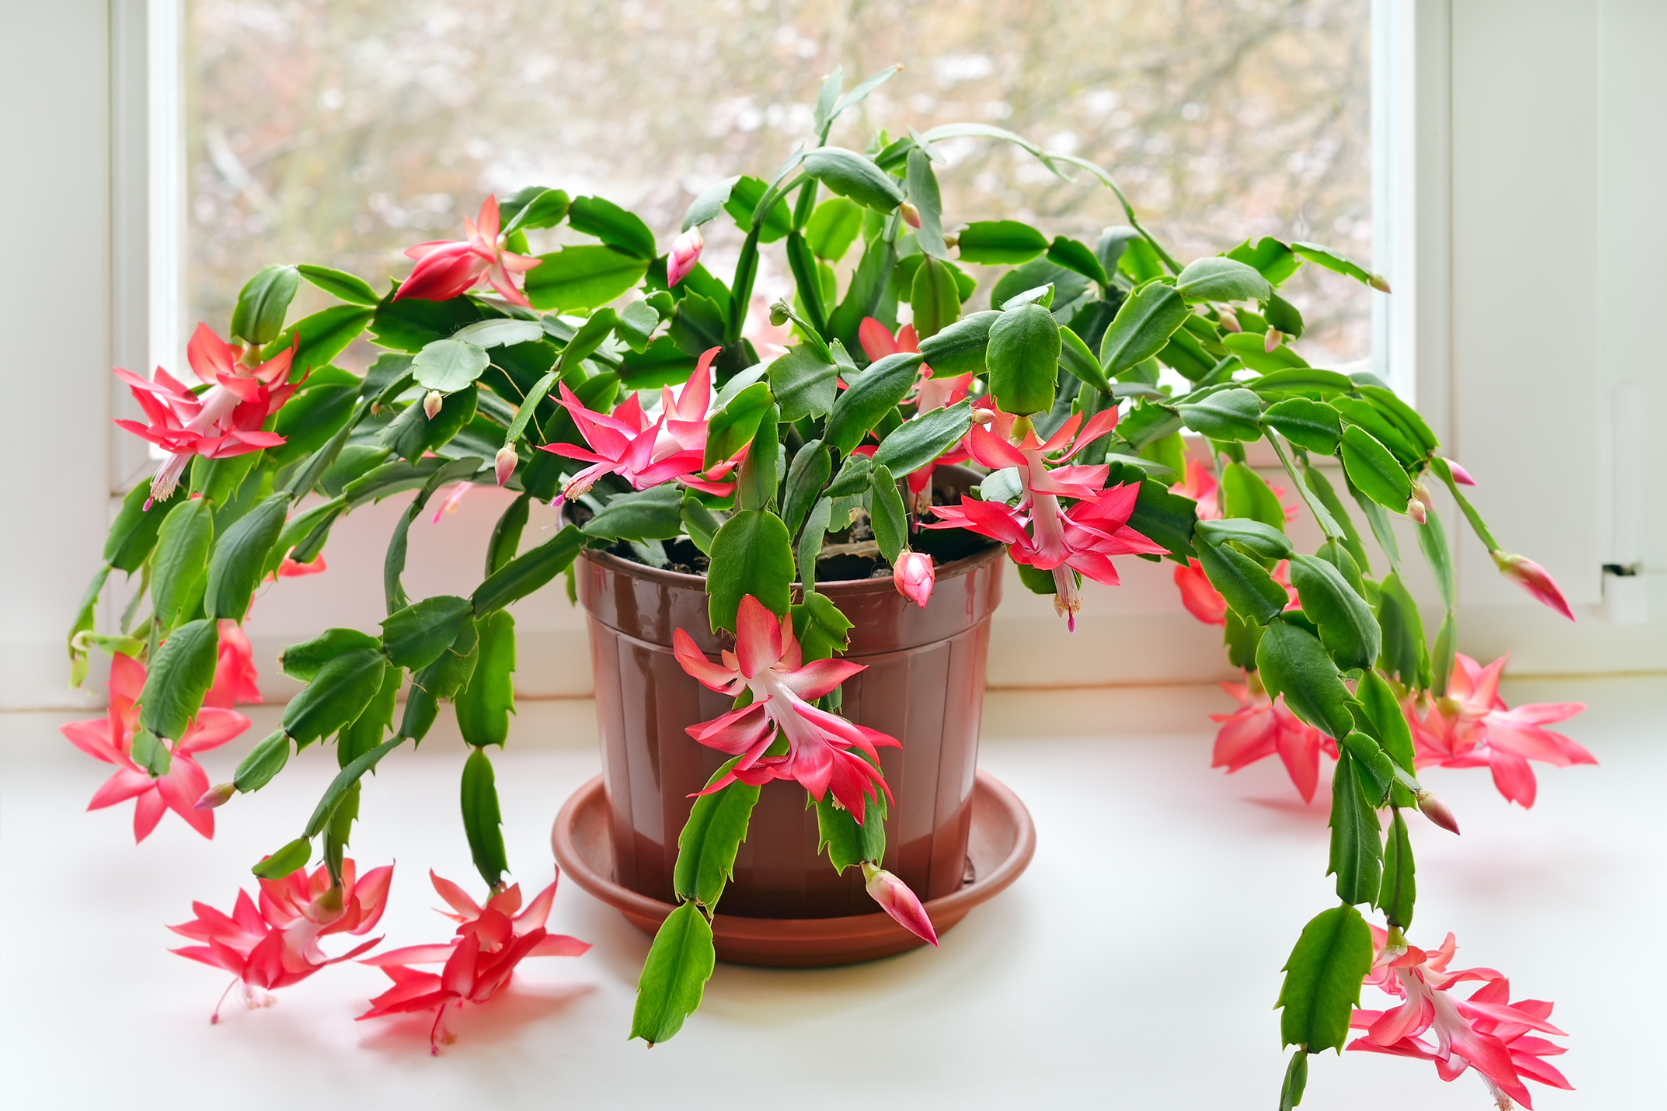
Repotting Orchids: Special Requirements for Air-Loving Plants
Orchids are unique plants that require more than just regular potting soil. Their roots need plenty of air, and their pots need to drain quickly. Follow these steps for repotting orchids:
- Use an orchid-specific mix: Orchids thrive in a potting mix made of bark, perlite, and other coarse materials that provide airflow to the roots.
- Trim dead roots: When repotting, check the orchid’s roots for any that are dead or rotting and trim them off with sterilized scissors.
- Repot at the right time: Orchids should be repotted right after blooming when they’re entering a growth period.
Common Repotting Mistakes to Avoid
Repotting is simple, but there are some common mistakes that can damage your plants. Here’s what to avoid:
- Choosing a pot that’s too large: A pot that’s too big can retain too much water, leading to root rot. Always select a pot that’s only slightly larger than the current one.
- Overwatering after repotting: Plants need time to adjust after repotting, so avoid overwatering. Let the soil dry slightly before the next watering.
- Not loosening the roots: If the roots are tightly bound and you don’t loosen them, the plant may continue to struggle, even in a new pot.
Avoiding common mistakes like choosing a pot that’s too large or overwatering can make a big difference in plant health. For more in-depth advice on when and how to repot, take a look at Gardener’s World’s guide on repotting plants.
Caring for Your Plants After Repotting
Once your plant is in its new home, it needs a little extra care to recover from the repotting process. Follow these tips to keep your plant thriving:
- Water carefully: Only water when the top inch of soil feels dry to the touch. Overwatering can lead to root rot, especially after repotting.
- Provide indirect sunlight: After repotting, plants can be stressed and sensitive to direct sunlight. Place them in a spot with bright, indirect light.
- Fertilize after 4-6 weeks: Repotting provides fresh nutrients in the soil, so wait a few weeks before adding any fertilizer. Once the plant has adjusted, use a balanced fertilizer to promote growth.
Troubleshooting Common Problems After Repotting
If your plant isn’t adjusting well after repotting, it might show signs of stress. Here are some common post-repotting problems and how to solve them:
- Wilting or yellowing leaves: This can happen if the plant is overwatered. Let the soil dry out and avoid watering for a few days.
- Drooping or floppy plant: If the plant is drooping, it may not have been potted deep enough. Gently repot it, making sure the root ball is properly supported.
- Root rot: If the plant develops root rot after repotting, it’s likely due to poor drainage or overwatering. Remove the plant, trim the damaged roots, and repot it in fresh, dry soil.
Conclusion: Keep Your Plants Thriving With Regular Repotting
Repotting is an essential part of keeping your indoor plants healthy and thriving. Whether you’re working with cacti, succulents, or houseplants, providing fresh soil, ample space, and the right care after repotting will ensure that your plants continue to grow strong. With the right tools, soil, and timing, repotting can be an easy and rewarding experience that boosts the longevity and beauty of your plants.
If you’re new to indoor gardening, make sure to explore our Beginner’s Guide to Indoor Planting for a complete overview of plant care essentials.


