


Why Choose a Raised Bed Garden?
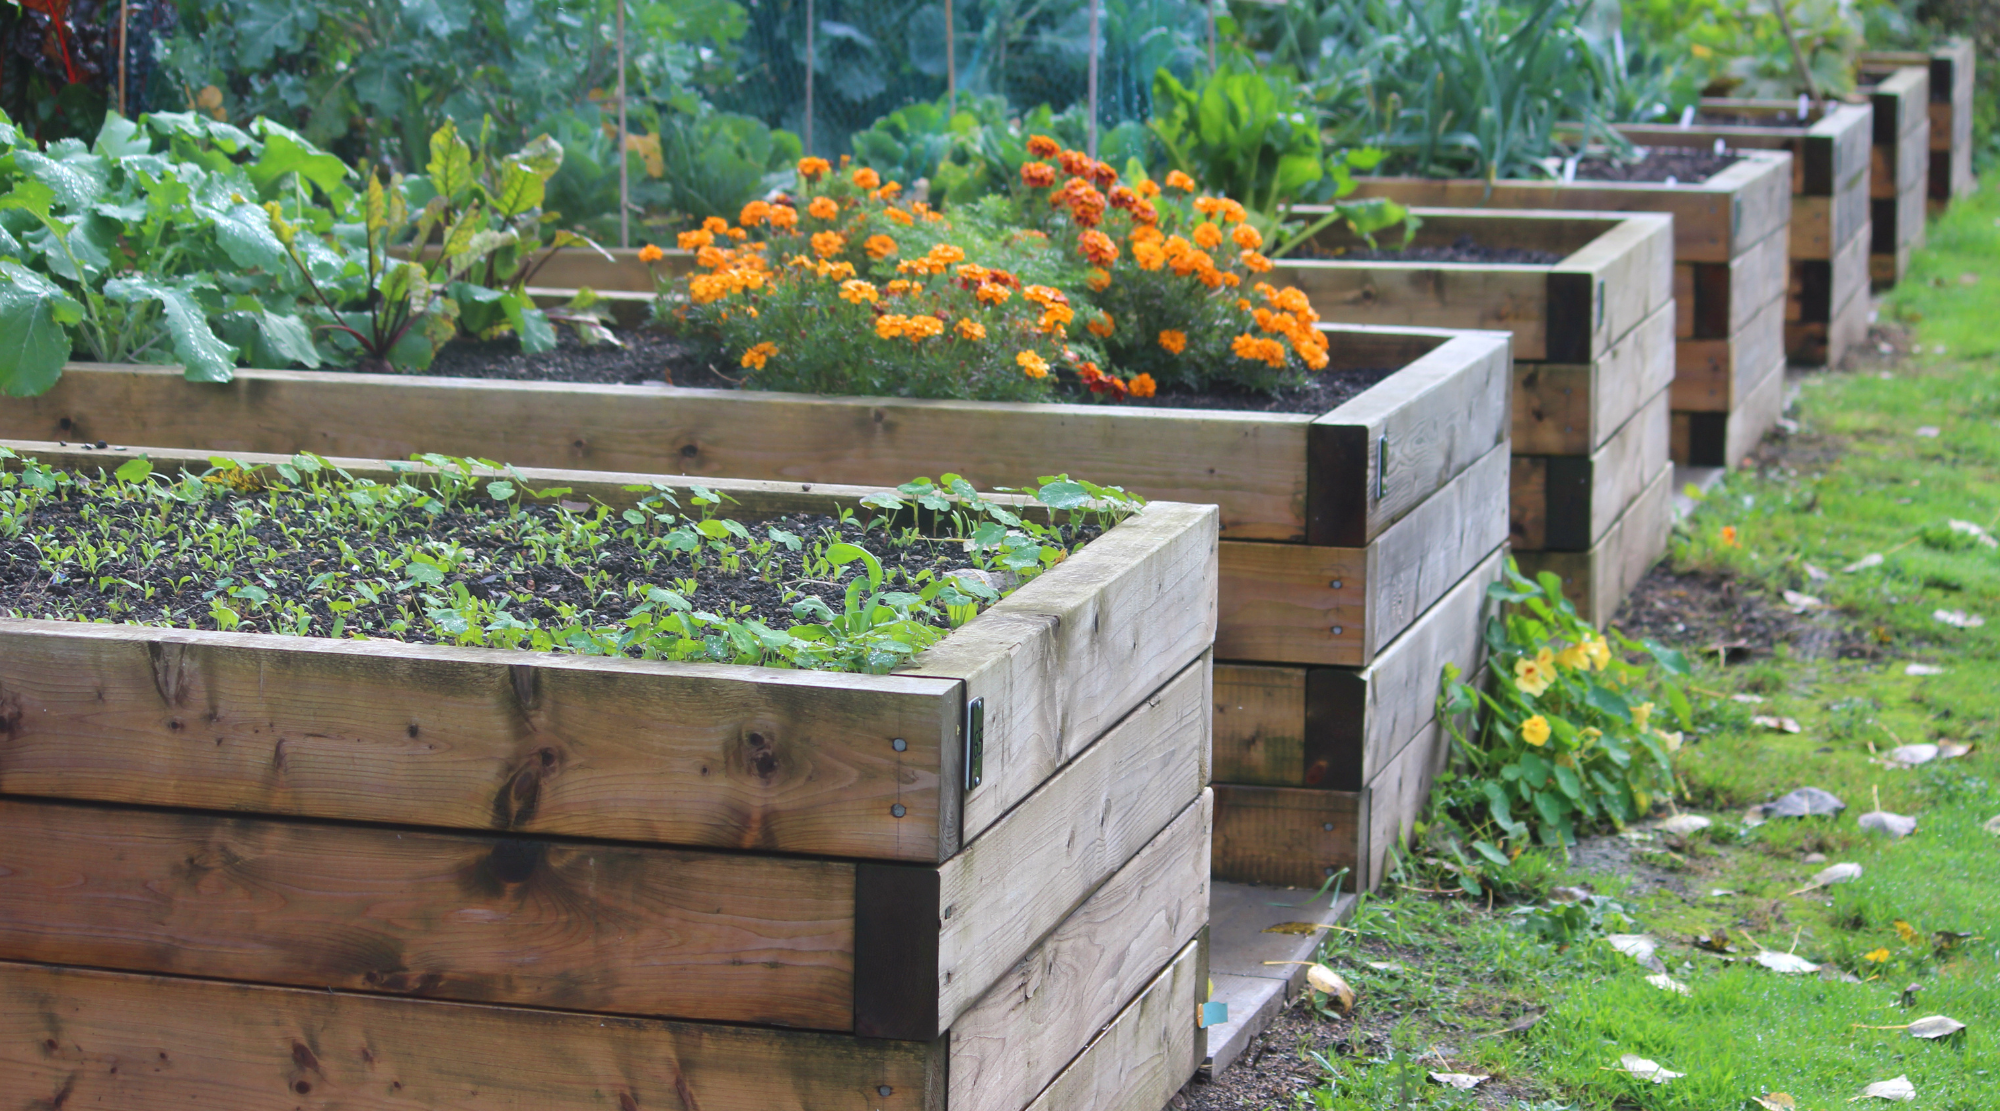
Starting a raised bed garden is one of the most practical and rewarding ways to grow your own vegetables, herbs, or flowers. Raised beds provide a contained space for gardening, offering several benefits over traditional in-ground gardening. Whether you have poor soil, limited space, or simply want an organized garden, raised beds offer a flexible and productive solution.
Benefits of Raised Bed Gardening:
- Better Control Over Soil Quality: Raised beds allow you to create the ideal soil mix for your plants, improving drainage and nutrient levels, which is especially helpful if your native soil is clay-heavy or sandy.
- Enhanced Drainage: Raised beds provide excellent drainage, preventing water from pooling and helping prevent root rot, even after heavy rain.
- Reduced Weeds: Since the soil in a raised bed is isolated, there’s less chance for weeds to invade. Using mulch can further reduce weed growth.
- Extended Growing Season: The soil in raised beds warms up faster in the spring, allowing you to plant earlier and extend your growing season.
- Easier on Your Back: Raised beds reduce the need for bending and kneeling, making gardening more comfortable and accessible, especially for those with mobility issues.
For more detailed information on raised bed gardening and expert advice, visit the University of California’s guide to raised beds.
Step 1: Choosing the Right Location for Your Raised Bed
Selecting the perfect spot for your raised bed is crucial to ensure healthy plant growth. The location will directly impact the amount of sunlight your plants receive, the ease of watering, and the overall success of your garden.
Sunlight Requirements:
Most vegetables require 6 to 8 hours of direct sunlight each day to thrive. When choosing a location for your raised bed, observe the sun’s path in your garden and identify areas that receive full sunlight. If your garden has limited sun exposure, leafy greens like lettuce and spinach can tolerate partial shade, but fruiting plants like tomatoes and peppers will need maximum sunlight.
Accessibility:
Position your raised bed in a location that is easy to access from all sides. This will make planting, watering, weeding, and harvesting much easier. Consider pathways between beds if you plan to install more than one, ensuring there’s enough space for walking or maneuvering a wheelbarrow.
Level Ground:
It’s important to place your raised bed on a level surface. A sloped area can lead to uneven watering, with some parts of the bed drying out while others stay too wet. If your garden isn’t naturally level, consider leveling the ground or using landscape timbers to stabilize your bed.

Step 2: Selecting the Right Materials for Your Raised Bed
The materials you choose for your raised bed can affect its longevity, cost, and appearance. Several options are available, each with its own advantages and considerations. The most common material is wood, but there are alternatives that might suit your specific needs.
Wood Options:
- Cedar and Redwood: These types of wood are naturally resistant to rot and pests, making them ideal for raised beds. Although they are more expensive, they can last for years without needing treatment.
- Untreated Pine: A budget-friendly option, untreated pine will work well, but it may only last a few seasons before beginning to break down due to exposure to moisture.
Alternative Materials:
- Concrete Blocks: An inexpensive and durable alternative, concrete blocks are easy to assemble and allow for flexibility in bed shape. You can even fill the holes in the blocks with soil and plant small herbs or flowers.
- Metal Raised Beds: Metal beds, often made from galvanized steel, are becoming increasingly popular due to their modern aesthetic and long-lasting durability. These are rust-resistant and can add a sleek look to your garden.
- Recycled Plastic: Another eco-friendly and durable option, plastic raised beds are resistant to rot and pests. They are available in pre-made kits for easy assembly.
Size Considerations:
- Width: The standard width for raised beds is 4 feet. This allows you to easily reach the center of the bed from either side without stepping on the soil. Beds wider than 4 feet can be difficult to manage without stepping into them, which compacts the soil.
- Length: Raised beds are typically 4 to 8 feet long. However, you can adjust the length based on the available space in your garden.
- Depth: For most vegetables, a depth of 12 to 18 inches is ideal, providing enough room for roots to grow deeply. Shallow-rooted plants, like lettuce and radishes, can thrive in beds as shallow as 6 inches, while deep-rooted crops, like tomatoes and carrots, need at least 12 inches of soil.
Want to build your own raised bed? Watch this detailed step-by-step guide on constructing a wooden raised bed at home.
Step 3: Preparing the Ground Under the Raised Bed
Before filling your raised bed with soil, preparing the ground beneath it will help block weeds and improve long-term results. The best approach is to use cardboard as a barrier, which is both eco-friendly and effective.
Weed Barrier:
The most effective way to prevent weeds and grass from growing through your raised bed is to place a layer of cardboard at the bottom. This method is inexpensive, biodegradable, and kills off weeds by blocking sunlight. Over time, the cardboard breaks down, improving soil structure and attracting earthworms, which further enhance the health of your soil. Here’s how to do it:
- Flatten large sheets of plain, non-glossy cardboard and overlap them so no gaps exist.
- Water the cardboard thoroughly to help it start breaking down and settle it into place.
Save Money by Using Organic Fillers:
To reduce the amount of soil needed to fill your raised bed, you can layer the bottom with organic materials such as sticks, branches, leaves, or straw. This technique, similar to hugelkultur, helps reduce costs, improves drainage, and adds nutrients to the soil over time as the organic material decomposes. Here’s how to use organic fillers:
- Place a layer of sticks and branches at the bottom of the bed.
- Add a layer of leaves or straw on top of the sticks, creating a natural base before adding your soil mix.
- As the materials decompose, they will enrich the soil while allowing proper drainage.
Step 4: Filling Your Raised Bed with the Best Soil Mix
After layering the bottom of your raised bed with sticks, leaves, or straw as a cost-effective filler, it’s time to add the soil that will provide your plants with the nutrients they need to thrive. Using a high-quality soil mix is essential for successful raised bed gardening.
Optimal Soil Mix for Raised Beds:
A well-balanced soil mix will provide proper drainage, aeration, and nutrients for your plants. Here’s an easy formula for filling your raised bed:
- 50% Topsoil: The base of your soil mix should be nutrient-rich topsoil. You can buy topsoil from a garden center, or if you have high-quality soil in your garden, you can use that.
- 30% Compost: Compost adds essential nutrients to the soil and improves its structure. Homemade compost or bagged compost will work well.
- 20% Organic Matter: Add materials like coconut coir, peat moss, or aged manure to help retain moisture and improve the texture of the soil.
Why Proper Drainage Is Important:
Raised beds drain more quickly than in-ground gardens, which helps prevent root rot but also means you need to ensure the soil can hold enough moisture. Adding organic matter, like compost and coconut coir, helps retain moisture while allowing excess water to drain away. The organic materials at the bottom of your bed (like sticks and leaves) will further enhance drainage as they decompose.
Amending the Soil for Specific Crops:
Different plants may require additional soil amendments. For example:
- Vegetables like tomatoes benefit from extra calcium, which can be added by mixing in crushed eggshells or bone meal.
- Leafy greens thrive with a nitrogen boost, which can be achieved by adding more compost or organic fertilizers like fish emulsion.
This video shows how to use organic materials like sticks and leaves to save soil and improve drainage in raised beds.
Step 5: Choosing What to Plant in Your Raised Bed
Once your raised bed is filled with the right soil mix, it’s time to choose the best plants for your garden. Raised beds are ideal for growing a wide range of vegetables, herbs, and flowers, but planning is key to maximizing your space and yields.
“If you’re new to gardening and looking for beginner-friendly options, check out our guide on 10 easy vegetables to grow for a thriving backyard garden.”
Best Plants for Raised Beds:
Here are some crops that thrive particularly well in raised beds:
- Vegetables:
- Tomatoes: Especially compact varieties like ‘Patio Princess’ or indeterminate types that can grow upward using stakes.
- Lettuce and Spinach: Shallow-rooted leafy greens that grow quickly and don’t require much space.
- Carrots: Raised beds provide the loose, well-drained soil that carrots need to develop long, straight roots.
- Peppers: Peppers love the warm, well-drained soil that raised beds offer and grow well alongside companion plants like basil.
- Herbs:
- Basil, Thyme, and Mint: These herbs thrive in raised beds and can be planted alongside vegetables like tomatoes or peppers to deter pests and improve flavors.
- Flowers:
- Marigolds: These flowers repel pests and attract pollinators, making them a great companion plant for your vegetables.
How to Plan for Crop Rotation in Raised Beds:
Crop rotation is key to keeping your soil healthy and preventing disease buildup. Each year, switch the locations of your crops to ensure that nutrients are balanced and pests and diseases don’t accumulate in the soil. For example:
- Year 1: Plant heavy feeders like tomatoes and peppers in one section and leafy greens in another.
- Year 2: Rotate your leafy greens to where the tomatoes were, and vice versa.
Step 6: Planting in Your Raised Bed
Now that you’ve chosen what to grow, it’s time to get planting! Proper planting techniques will help ensure strong growth and a productive garden.
Spacing Requirements:
One of the key benefits of raised beds is that they allow for intensive planting, meaning you can plant crops closer together than you would in traditional garden rows. However, proper spacing is still crucial for healthy growth:
- Tomatoes and Peppers: These plants need 18-24 inches between them to allow for airflow and prevent fungal diseases.
- Leafy Greens: You can plant lettuce and spinach about 6-8 inches apart, ensuring they have enough room to spread out but not so much space that weeds can grow in between.
- Root Vegetables: Carrots and radishes need 2-4 inches of space between them for root expansion.
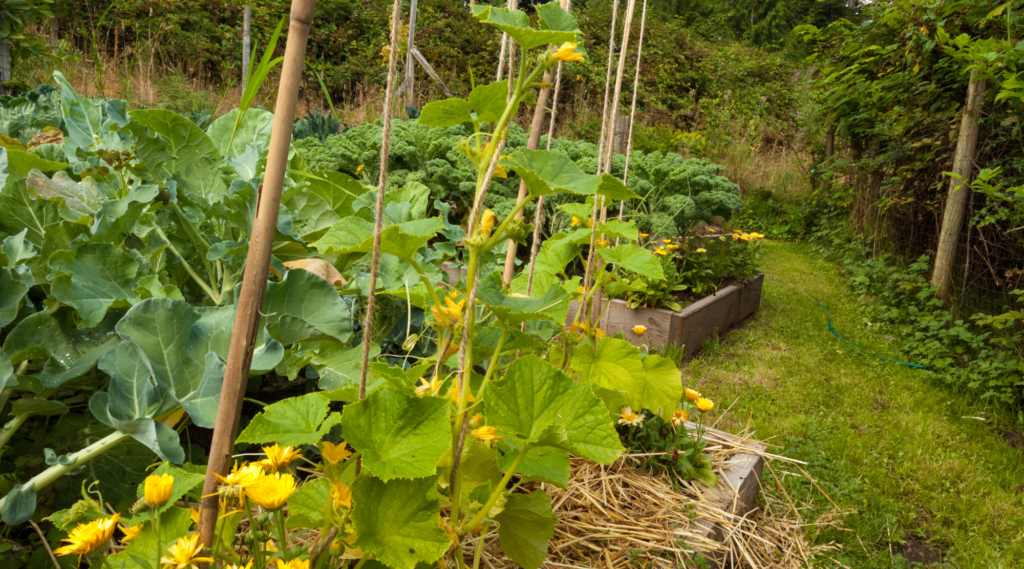
Using Vertical Space:
In raised beds, space is often limited, but you can maximize your yield by growing plants vertically. Here’s how:
- Tomatoes, Cucumbers, and Peas: Use stakes, cages, or trellises to support vining plants. This not only saves space but also improves air circulation and reduces the risk of disease.
- Pole Beans: These can be grown upward using bamboo poles or a simple trellis, leaving more space in your bed for other crops.
Seedlings vs. Direct Seeding:
Decide whether to start your plants from seedlings or seeds:
- Seedlings: For crops like tomatoes and peppers, starting with seedlings gives you a head start and ensures quicker growth.
- Direct Seeding: Fast-growing crops like lettuce, radishes, and carrots are best sown directly into the soil, as they grow quickly and don’t transplant well.
Step 7: Watering and Irrigation Tips for Raised Beds
Watering is a crucial part of maintaining a healthy raised bed garden. Since raised beds tend to dry out faster than traditional in-ground gardens, proper watering techniques can make all the difference.
Watering Frequency and Techniques:
Because raised beds drain more efficiently, you’ll need to monitor soil moisture regularly. Here are some key watering strategies:
- Daily Checks: During hot, dry weather, check the soil daily. Stick your finger about an inch deep into the soil—if it feels dry, it’s time to water.
- Water Early in the Day: Water your plants in the morning to allow the moisture to soak in before the sun evaporates it. Morning watering also helps prevent fungal diseases, which can develop if plants stay wet overnight.
- Water at the Base: Focus on watering the base of the plants rather than the leaves. This encourages deep root growth and helps prevent fungal issues like mildew or blight.
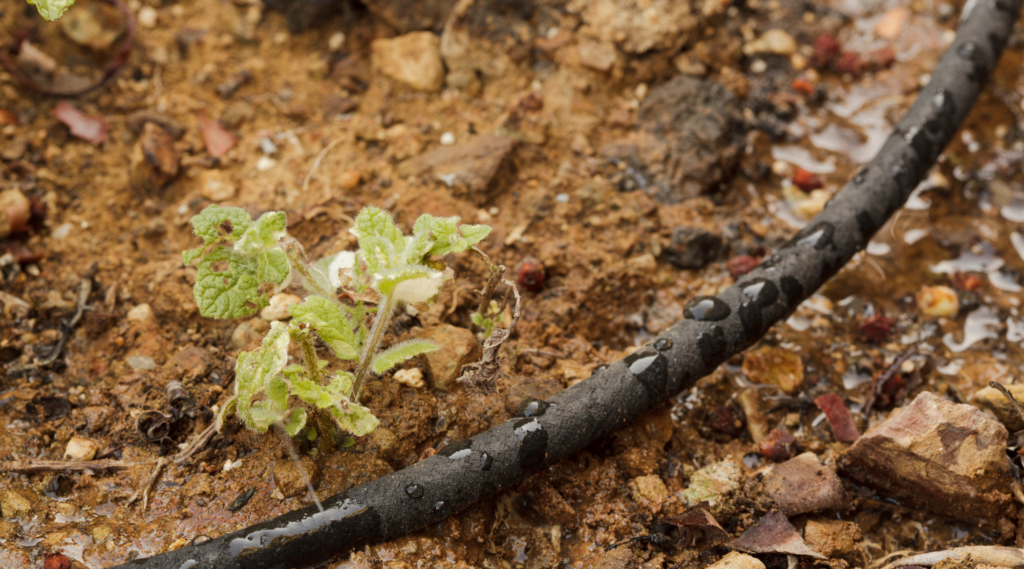
Irrigation Systems:
If you want to make watering easier and more consistent, consider installing an irrigation system in your raised beds:
- Drip Irrigation: A drip system delivers water directly to the base of your plants through small tubes, conserving water and ensuring that the roots get a steady supply. It’s highly efficient and reduces the risk of overwatering or water runoff.
- Soaker Hoses: Soaker hoses are another great option for raised beds. These hoses allow water to slowly seep into the soil, providing consistent moisture to the plants.
- Manual Watering: If you prefer manual watering, use a watering can or a hose with a gentle spray nozzle to avoid damaging delicate plants or washing away soil.
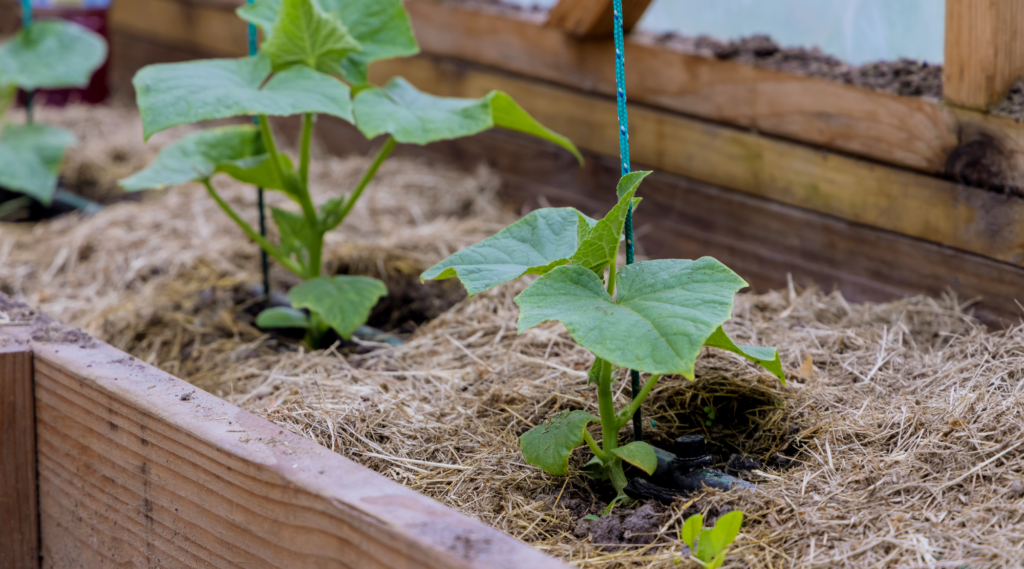
Step 8: Mulching and Weed Control in Raised Beds
Mulching and managing weeds are key to maintaining a low-maintenance, productive raised bed garden. Mulch helps conserve water, suppresses weeds, and keeps the soil temperature stable.
Benefits of Mulching in Raised Beds:
Mulching your raised beds provides several benefits:
- Moisture Retention: Mulch helps keep the soil moist by reducing evaporation, which is especially important in raised beds that dry out quickly.
- Weed Suppression: A thick layer of mulch blocks sunlight from reaching weed seeds, preventing them from germinating.
- Soil Temperature Regulation: Mulch acts as insulation, keeping the soil cooler in the summer and warmer in the early spring or late fall.
Best Organic Mulch Options:
Here are some effective organic mulches you can use in your raised beds:
- Straw: Lightweight and inexpensive, straw is a great option for covering large areas of soil. It breaks down over time, adding organic matter to the soil.
- Wood Chips or Shredded Bark: These mulches last longer than straw and are great for vegetable gardens. They help retain moisture and add a natural look to your raised beds.
- Grass Clippings or Leaves: If you’re looking for a free, eco-friendly mulch, grass clippings or leaves work well. Just make sure the clippings are untreated with chemicals.
Weed Management:
Even though raised beds generally have fewer weeds, it’s important to keep an eye out for any that manage to sprout. Here are some weed control strategies:
- Pull Weeds Regularly: Hand-pull weeds as soon as you see them to prevent them from establishing deep roots and spreading.
- Mulch Heavily: Apply a thick layer of mulch (about 2-3 inches) to block weeds from growing.
- Use Natural Barriers: In addition to mulch, you can lay down cardboard or newspaper around plants to create an additional barrier that prevents weeds from sprouting.
“To learn more about using companion planting to keep pests away and boost plant growth, check out our ultimate companion planting guide.”
Step 9: Maintenance and Seasonal Care for Your Raised Bed
Proper care throughout the growing season will help ensure that your raised bed garden stays productive and healthy. From feeding your plants to preparing for the next season, here’s how to keep your garden thriving year-round.
Feeding Your Raised Bed:
Even with a rich soil mix, your plants will deplete nutrients over time, especially in a small raised bed. Regularly feed your plants to keep them strong and productive:
- Organic Fertilizers: Use slow-release organic fertilizers like compost, fish emulsion, or worm castings. These help improve soil structure while providing essential nutrients.
- Side-Dressing: For heavy feeders like tomatoes or squash, add a layer of compost or organic fertilizer around the base of the plant (side-dressing) midway through the season for an extra nutrient boost.
Pruning and Staking:
- Pruning: Certain plants like tomatoes benefit from regular pruning to improve airflow and direct energy into fruit production. Remove any dead or yellowing leaves, and prune suckers (the small shoots that grow between the stem and branches) to focus the plant’s energy on growing larger fruit.
- Staking: Use stakes or cages to support vining plants like tomatoes, cucumbers, and peas. Proper support prevents plants from sprawling on the ground, which can lead to disease and poor growth.
Preparing for the Next Season:
As the growing season comes to an end, it’s important to prepare your raised bed for the next round of planting:
- Add Compost: After harvesting, add a fresh layer of compost to enrich the soil. This replenishes the nutrients that were used by your plants and prepares the bed for next year’s crops.
- Mulch for Winter: If you live in a region with cold winters, apply a thick layer of mulch over the soil to protect it from freezing temperatures. This helps retain moisture and keeps the soil structure intact.
- Cover Crops: In colder climates, planting a cover crop like clover or rye can help prevent soil erosion and add organic matter when tilled into the soil before the next growing season.
Conclusion: Enjoying the Benefits of a Raised Bed Garden
]With the right setup and care, raised bed gardens are a highly rewarding way to grow your own vegetables, herbs, and flowers. Not only do they provide better control over soil quality and drainage, but they also reduce the strain of traditional gardening by making it easier to manage pests, weeds, and plant health. By following this guide, you can enjoy a thriving, low-maintenance garden that will produce fresh, healthy crops season after season.
FAQ Section:
FAQ 1: How deep should a raised bed be for vegetables?
A: “For most vegetables, a raised bed should be at least 12-18 inches deep to allow for proper root development, but shallow-rooted crops like lettuce and herbs can thrive in beds as shallow as 6-8 inches.”
FAQ 2: What should I put at the bottom of a raised bed?
A: “Adding a layer of cardboard at the bottom of your raised bed is an effective way to block weeds. You can also fill the bottom with sticks and leaves to save on soil and improve drainage.”
FAQ 3: What type of soil is best for raised beds?
A: “A good mix for raised beds is 50% topsoil, 30% compost, and 20% organic matter like coconut coir or peat moss. This ensures proper drainage and nutrient retention.”
FAQ 4: What vegetables grow best in raised beds?
A: “Tomatoes, lettuce, carrots, and herbs like basil thrive in raised beds due to better drainage and improved soil quality.”
FAQ 5: How often should I water my raised bed garden?
A: “Raised beds dry out faster than in-ground gardens, so check the soil daily in hot weather and water whenever the top inch feels dry.”


